
Bathroom Wall Cladding Step by Step for Hygienic Results
- tim7892
- Feb 12
- 8 min read
Installing Bathroom Wall Cladding for a Clean, Hygienic Finish
Commercial bathroom renovations in the United Kingdom demand more than just attractive finishes. Contractors face growing pressure to deliver solutions that combine clinical hygiene with robust, low-maintenance surfaces. Installing hygienic PVC wall cladding is a proven approach for achieving seamless, easy-to-clean environments that meet stringent standards. This step-by-step guide offers professional direction for preparing walls, measuring and cutting panels, securing adhesive bonds, and achieving a flawless, watertight finish for every project.
Table of Contents
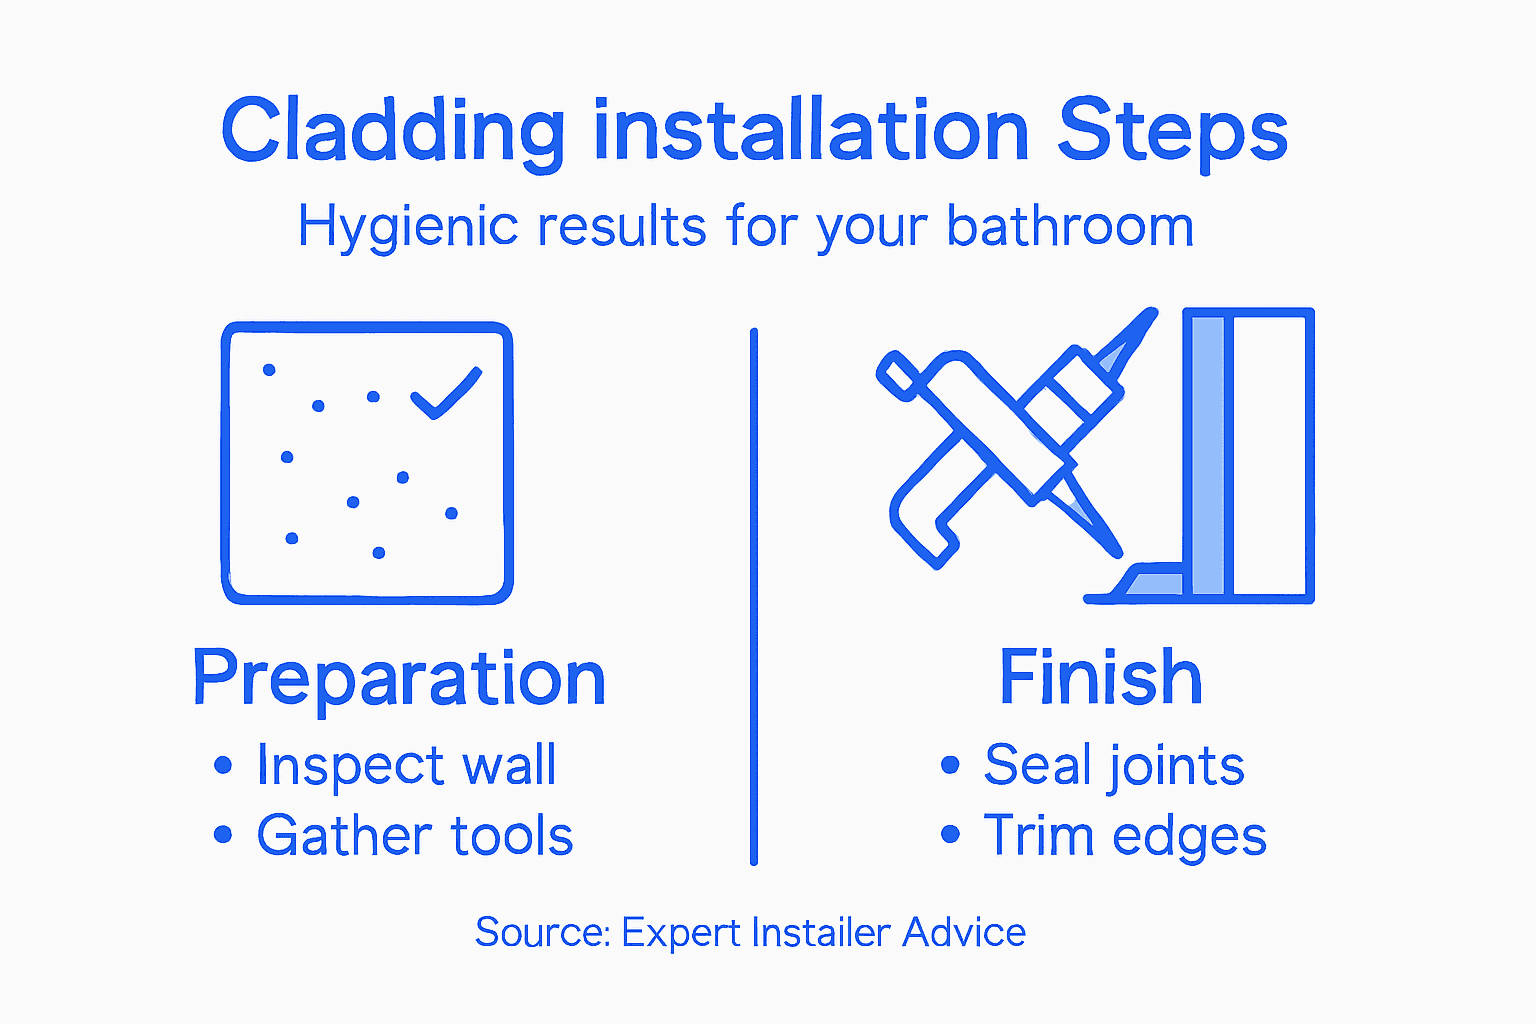
Step 1: Prepare Walls And Gather Materials
Step 2: Measure And Cut PVC Cladding Panels
Step 3: Apply Adhesive And Position Panels
Step 4: Secure Trims And Join Profiles
Step 5: Inspect Joints And Finish Installation
Quick Summary
Key Point | Explanation |
1. Thoroughly inspect wall surfaces | Check for moisture damage and irregularities to ensure effective panel adhesion and longevity of cladding. |
2. Measure accurately for cutting | Use detailed measurement techniques to account for obstacles and achieve a seamless fit for PVC panels. |
3. Apply adhesive methodically | Use consistent adhesive application patterns to secure panels and avoid air pockets that could lead to weak spots. |
4. Secure trims and profiles effectively | Install trims systematically to conceal panel edges and ensure a watertight finish, enhancing visual appeal. |
5. Conduct a meticulous final inspection | Inspect panel joints for alignment and apply sealant where necessary to ensure a professional, flawless result. |
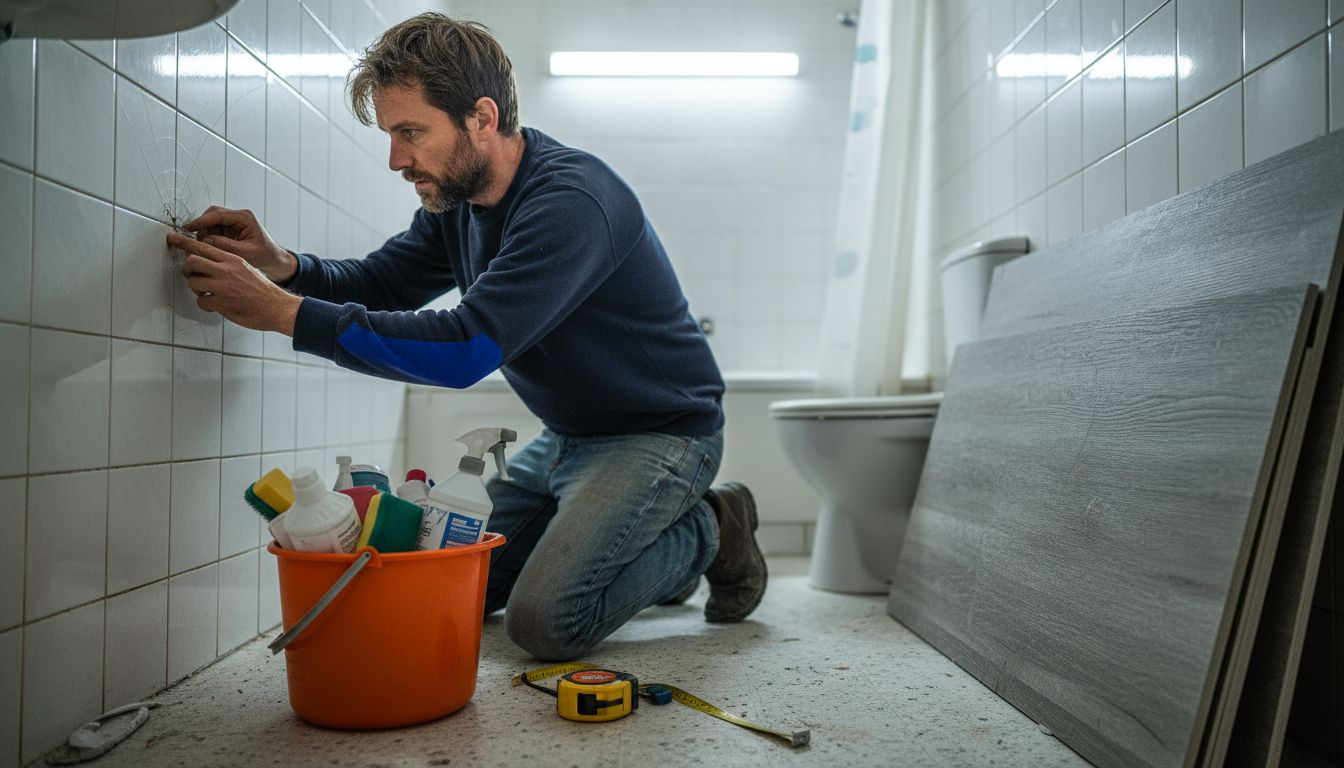
Step 1: Prepare walls and gather materials
Successfully installing bathroom wall cladding begins with meticulous preparation of your surfaces and strategic material selection. Your goal in this initial phase is to create a pristine, smooth foundation that ensures perfect panel adhesion and long-lasting results.
Before diving into installation, you’ll need to perform several critical preparatory tasks. Start by thoroughly inspecting the existing wall surface. Look for any signs of moisture damage, mould, uneven areas, or structural irregularities that could compromise your cladding’s performance. You’ll want to address these issues before proceeding - cracked plasterboard, damp patches, or uneven surfaces will create problems later.
Gather your essential materials and tools to streamline the process:
Measuring tape for precise dimensions
Spirit level to ensure perfect alignment
Adhesive compatible with PVC panels
Waterproof sealant
Clean cloths and degreasing solution
Safety equipment (gloves, safety glasses)
Cutting tools (utility knife, fine-toothed saw)
Preparing the wall involves several systematic steps. First, remove any existing tiles or wallpaper. Clean the surface meticulously using a degreasing solution to eliminate any residue, dirt, or contaminants. Allow the wall to dry completely - moisture is the enemy of good adhesion.
Pro tip: Always test your adhesive and wall surface compatibility on a small, inconspicuous area before full installation.
Professional advice: Invest in high-quality preparation materials - cutting corners here will compromise your entire bathroom wall cladding project.
Step 2: Measure and cut PVC cladding panels
Measuring and cutting PVC wall cladding panels requires precision and careful planning to ensure a professional finish. Your goal is to create perfectly fitted panels that look seamless and provide maximum hygienic coverage.
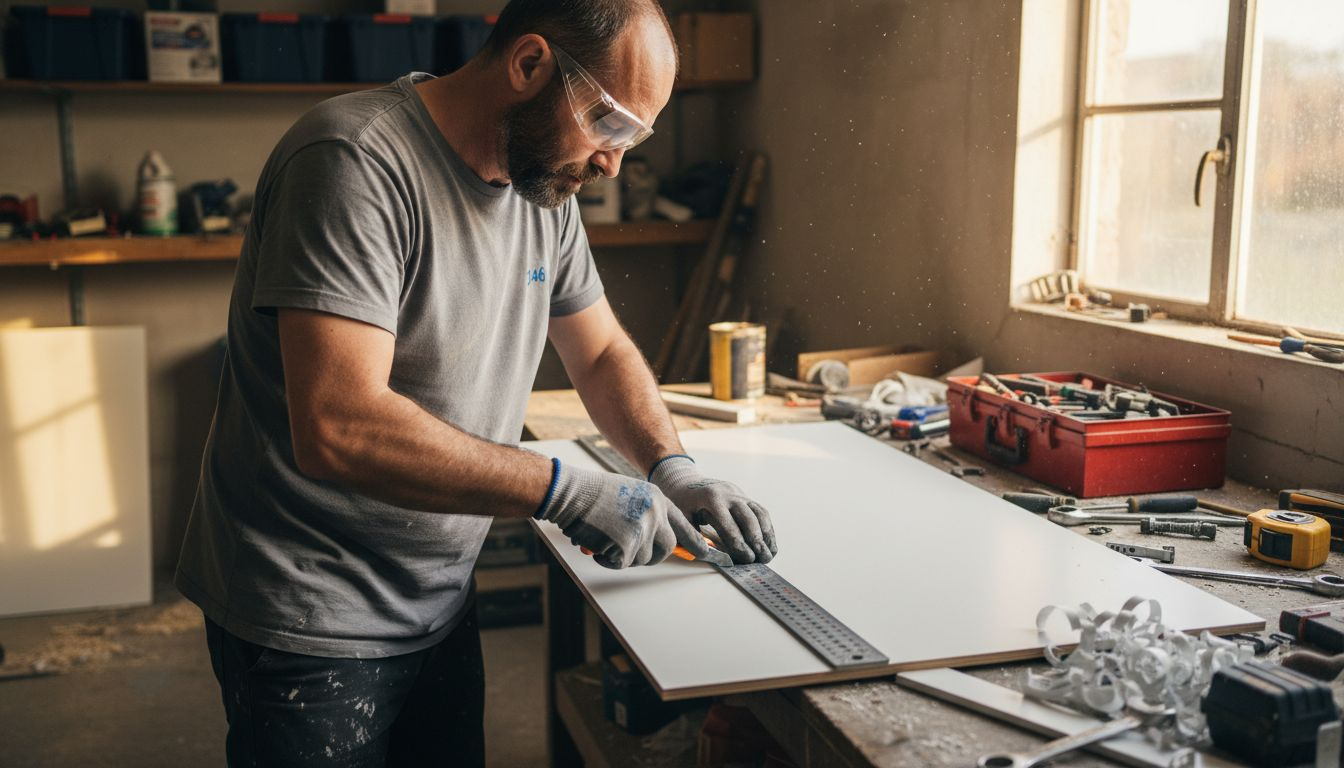
Begin by accurately measuring the wall dimensions. Use a precise measuring technique that accounts for every detail - measure from floor to ceiling, and include considerations for any obstacles like electrical outlets, pipework, or windows. Always add a small allowance of 2-3mm for potential adjustments and trim fitting.
Your cutting strategy depends on the tools available:
Utility knife for thin panels
Jigsaw for straight and curved cuts
Fine-toothed saw for clean edges
Hacksaw as an alternative cutting method
When cutting, remember these critical guidelines. For panels with a decorative surface, cutting techniques vary depending on your tool. With a handsaw, cut with the decorative side facing up. When using a jigsaw, reverse this - cut with the decorative side facing down to ensure the cleanest possible finish.
Professional installers know that precise cutting is the foundation of a perfect wall cladding installation.
Pro advice: Always make test cuts on scrap material to perfect your technique and minimise waste.
Here’s a helpful comparison of primary cutting tools for PVC panels:
Tool | Best Use Case | Pros | Cons |
Utility Knife | Thin panel trimming | Clean, quiet | Limited thickness |
Jigsaw | Curved/special cuts | Versatile, fast | Needs power, noisy |
Fine-toothed Saw | Straight, clean edges | Smooth finish | Manual effort needed |
Hacksaw | Alternative for straight cuts | Widely available | May leave rough edge |
Step 3: Apply adhesive and position panels
Applying adhesive and positioning PVC wall panels is a critical stage that determines the overall quality and longevity of your bathroom cladding installation. Your objective is to create a secure, waterproof bond that ensures panels sit perfectly flush against the wall surface.
Begin by selecting a high-quality adhesive application technique that ensures even coverage. Apply the adhesive in consistent vertical and horizontal beads spaced approximately 10-12 inches apart across the entire back of the panel. This grid-like pattern provides maximum adhesion and prevents potential air pockets or weak spots.
Important considerations for panel positioning:
Check panel alignment before pressing into place
Use tongue and groove edges for tight connections
Apply even pressure when positioning panels
Ensure adhesive contact with wall surface
Clean excess adhesive immediately
When positioning panels, work methodically from one corner of the room. Press each panel firmly into place, using a slight twisting motion to guarantee complete adhesive contact. If required, use temporary screws to hold panels securely while the adhesive sets, particularly in areas with potential movement or stress.
Professional installers know that precision during adhesive application prevents future moisture penetration and panel movement.
Pro advice: Work in small sections and periodically check panel alignment to avoid cumulative misalignment during the installation process.
Step 4: Secure trims and join profiles
Securing trims and joining panel profiles represents the final refinement stage of your bathroom wall cladding installation. Your goal is to create a professional, watertight finish that conceals panel edges and provides a seamless aesthetic appearance.
Begin by installing external corner trims strategically around internal and external corners, windows, and door openings. These trims not only enhance the visual appeal but also provide critical protection for panel edges and potential moisture entry points.
Key considerations for trim installation:
Use external corner pieces systematically
Apply adhesive consistently behind trims
Secure with screws where necessary
Check alignment before final positioning
Use silicone sealant for watertight joints
Pay special attention to ‘H’ trims when joining panels end-to-end. These profile pieces hide panel joints and accommodate natural expansion, creating a uniform appearance. Apply a thin, continuous bead of adhesive behind the trim, pressing firmly to ensure complete contact. Where additional support is needed, use discreet screws positioned at strategic intervals.
Precision in trim installation transforms a good cladding job into an exceptional, professional-looking result.
Pro advice: Clean excess adhesive and sealant immediately to prevent unsightly residue and maintain a crisp, professional finish.
Step 5: Inspect joints and finish installation
The final stage of bathroom wall cladding installation requires meticulous attention to detail to ensure a professional, watertight finish. Your objective is to comprehensively review every aspect of the installation, addressing any potential issues before declaring the project complete.
Begin by carefully inspecting panel joints for precise alignment, gaps, and potential moisture entry points. Look critically at each connection, ensuring panels sit flush and trims are perfectly positioned.
Key final inspection points:
Check panel alignment thoroughly
Verify trim positioning
Apply silicone sealant along all joints
Remove protective film from panels
Wipe away excess sealant immediately
Inspect for any visible imperfections
Pay special attention to areas around fixtures like taps, shower heads, and electrical outlets. Cut precise holes for these elements using appropriate tools, ensuring clean, professional edges. When applying silicone sealant, use a steady hand and create a smooth, continuous bead that prevents water penetration.
Precision during the final inspection stage separates amateur installations from professional-quality results.
Pro advice: Use a clean, damp cloth to smooth silicone sealant and create a perfect, professional-looking finish.
Here’s a summary of the bathroom wall cladding installation workflow:
Stage | Key Objective | Critical Success Factor |
Wall Prep | Create smooth foundation | Eliminate moisture and flaws |
Measuring & Cutting | Achieve seamless fit | Account for obstacles |
Adhesive & Position | Secure waterproof bond | Even coverage, correct alignment |
Trims & Profiles | Conceal edges and joints | Watertight, neat finish |
Final Inspection | Guarantee professional result | Perfect joints, no imperfections |
Achieve Flawless Bathroom Wall Cladding with Hygienic PVC Solutions
Installing bathroom wall cladding requires precision at every stage from wall preparation to final trim installation. Challenges like moisture damage, uneven surfaces, and ensuring a watertight seal can make this a daunting task. Key goals such as creating a smooth foundation, achieving perfect alignment, and securing moisture-resistant joins are essential for lasting, hygienic results. Our expert range of high-quality PVC wall cladding and accessories at Hygienic Sheets is designed to address these exact challenges by offering durable, waterproof panels and trims that simplify installation and maintain impeccable hygiene standards.
Take control of your next project with confidence. Explore our comprehensive selection of PVC wall panels, adhesives, trims, and profiles tailored for environments demanding cleanliness and moisture resistance. Whether you are a contractor, facility manager, or business owner, find the reliable, easy-to-install products that professionals trust. Visit Hygienic Sheets now to secure quality materials delivered fast throughout the UK and ensure your bathroom wall cladding is flawless, hygienic, and built to last.
Frequently Asked Questions
What preparation is necessary for bathroom wall cladding?
To ensure successful wall cladding installation, start by thoroughly inspecting the existing wall surface for signs of damage or moisture. Clean the surface and allow it to dry completely before applying the cladding panels.
How do I accurately measure and cut PVC wall cladding panels?
To measure and cut PVC wall cladding panels accurately, take precise measurements from floor to ceiling and around obstacles such as electrical outlets. Always leave a 2-3mm allowance for adjustments, and use appropriate cutting tools like a utility knife or jigsaw for the best results.
What type of adhesive should I use for PVC cladding panels?
Use a high-quality adhesive specifically compatible with PVC panels to ensure a strong bond. Apply the adhesive in a grid pattern to the back of the panel for even coverage, promoting maximum adhesion and preventing air pockets.
How can I ensure watertight joints when installing trims and profiles?
To achieve watertight joints, apply silicone sealant along all edges and ensure the trims fit snugly around corners and openings. Clean any excess sealant immediately for a professional finish and check alignment before securing with screws.
What should I do during the final inspection of the wall cladding?
During your final inspection, carefully check panel alignment and joints for any gaps or imperfections. Apply silicone sealant to all joints and wipe away excess to create a smooth, professional finish.
How can I maintain the hygiene and longevity of my bathroom wall cladding?
To maintain hygiene, regularly clean the wall cladding with a non-abrasive cleaner to prevent mould and mildew buildup. Perform routine inspections for any signs of water damage or wear, addressing issues as they arise to keep the cladding in good condition.
Recommended


1 Comment